


Are you interested in learning how to use ChatGPT to build a website?
Of course you are. That’s why you’re here.
ChatGPT has only been with us for a relatively short while, but it’s already transformed the landscape of the web design world. Developers and site owners have figured out ways to utilize it for improved productivity, and in many cases, to do things they previously wouldn’t have been able to.
By the time you finish reading this tutorial you’ll be able to join their ranks because I’m going to teach you how to use it to build a website (really!). From the homepage HTML files to a navigational menu, to a footer area, to CSS styling – you’ll have it all.
Ready to get started? 🤔 Let’s do this! 💪
How can ChatGPT help you build a website?
As a natural language processing tool driven by artificial intelligence, ChatGPT is trained to produce a detailed response following an instruction or question made by the user. It’s no secret that ChatGPT can provide written content for webpages, but it also thrives when you prompt it to write the actual code for a website.
That’s what I primarily want to focus on here. I don’t want to simply copy and paste a bunch of content into a WordPress page. The idea is to get ChatGPT to write HTML, CSS, and JavaScript code, compile it into files, and then upload those files to a hosting provider.
⚙️ By following this process, ChatGPT can create:
- Complete homepages
- Navigational menus
- Footers
- Sidebars
- Additional pages like Contact, About Us, and even Shop pages
- All the HTML, CSS, and other code language files needed
- Content for your webpages
- Suggestions on hosting, business names, domain names, product ideas, and more
However, ChatGPT is limited to generating written content. You can’t, therefore, ask it to complete tasks that require you to sign up on other websites or pay money for a product.
🛑 Here’s what ChatGPT can’t do for you:
- Buy or configure a domain name
- Purchase website hosting (we recommend Bluehost)
- Content management (you’d need something like WordPress for this)
- Install plugins or themes
- Upload the AI-generated files to a host (you have to do this manually)
💡 Don’t forget to take advantage of the exclusive Bluehost discount we set up for you, our readers, so you can lock in a preferred rate for your website and get a free domain name on top of it.
These limitations shouldn’t hold you back, though. With that out of the way, let’s move forward with building a website using ChatGPT. You’ll be impressed by the results. 🤩
How to use ChatGPT to build a website
If you intend on following this tutorial step by step, I recommend using a desktop or a laptop computer. You’ll be managing site files and uploading them to a host dashboard, which is not exactly convenient on a smartphone or a tablet.
To begin, either log into your existing ChatGPT account, or if you haven’t registered for one yet, then go to the OpenAI website and sign up:
Technically, you can use ChatGPT without registering an account. However, I don’t recommend this approach for several reasons, the most important being that you won’t have access to the latest model, which is GPT-4o. This is the model we’re going to use in this tutorial. It’s available for both free users and those on the paid ChatGPT Plus plan.
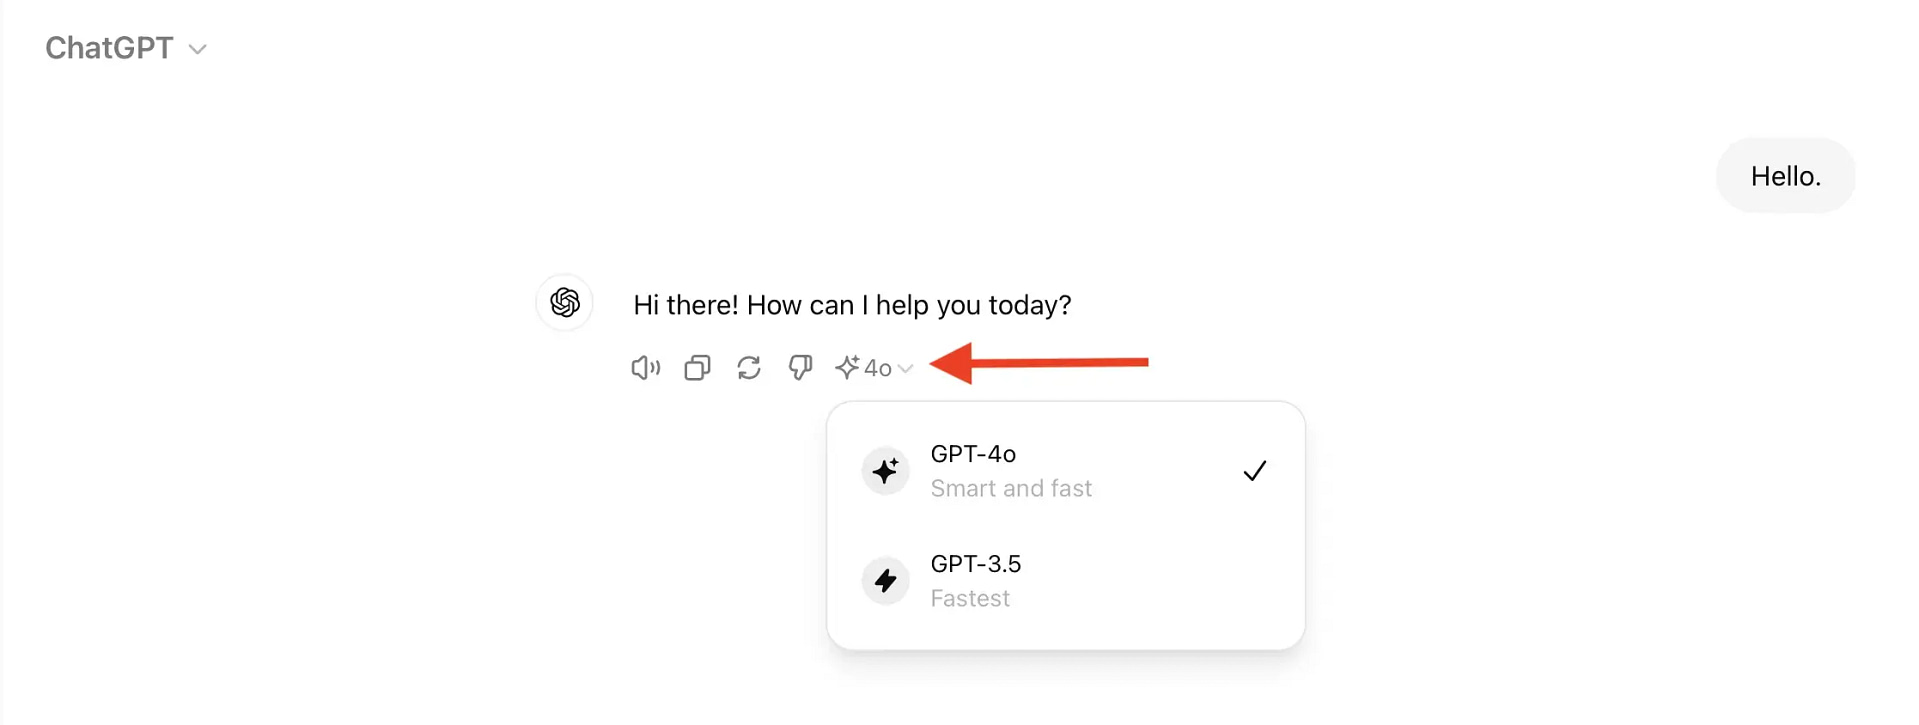
How to toggle between GPT models and select the latest one
For free users, GPT-4o is the default model that your interface will be set to upon logging in. If you don’t log in, you’ll be on the GPT-3.5 model. Hence why I said you should create an account if you don’t already have one.
To double check, simply type anything into the chat window and then hover over GPT’s response. Look for the little AI emoji, click it, and you’ll see that the GPT-4o model is selected:
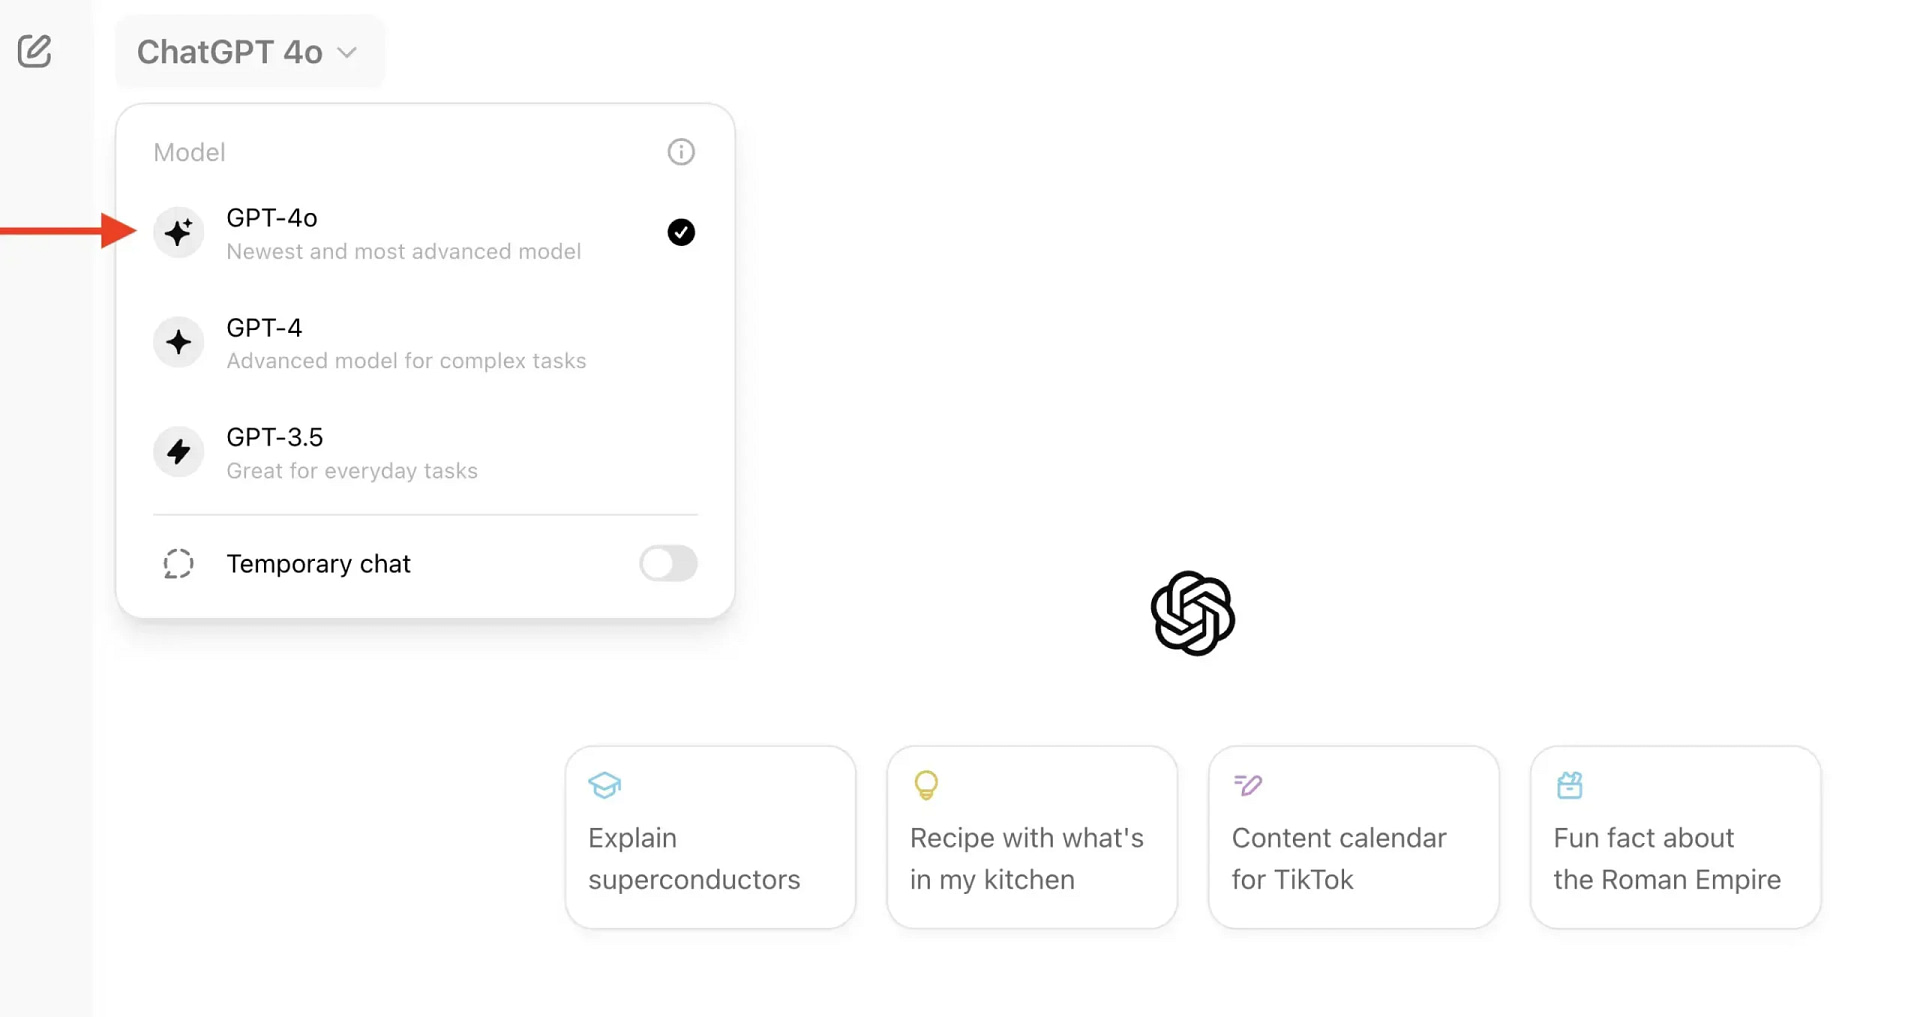
For ChatGPT Plus users, you’ll need to switch to the GPT-4o model by clicking on the top left menu that’s adjacent to the left sidebar:
Once you’ve either selected or confirmed that you’re using GPT-4o, you can get started with the steps below. If you do them correctly, you should end up with:
- An HTML file for a one-page website with a homepage, images, footer, and menu navigation
- Some styling code within that HTML file
I will also show you how to render those files in a browser, and in the final step, I’ll explain how to upload them to a web host to publish the site online.
Step 1: Set your project requirements with ChatGPT
Starting out, it’s best to specify some requirements to the ChatGPT bot. This way, it understands some overarching necessities that never change as you make more requests to build your website.
You can modify the requirements however you want, but it’s generally important to specify things like:
- Coding languages
- File structure
- Responsiveness
- How many files you want at the end
- That there’s no need to provide explanations for the code
Here’s an example of what to type in:
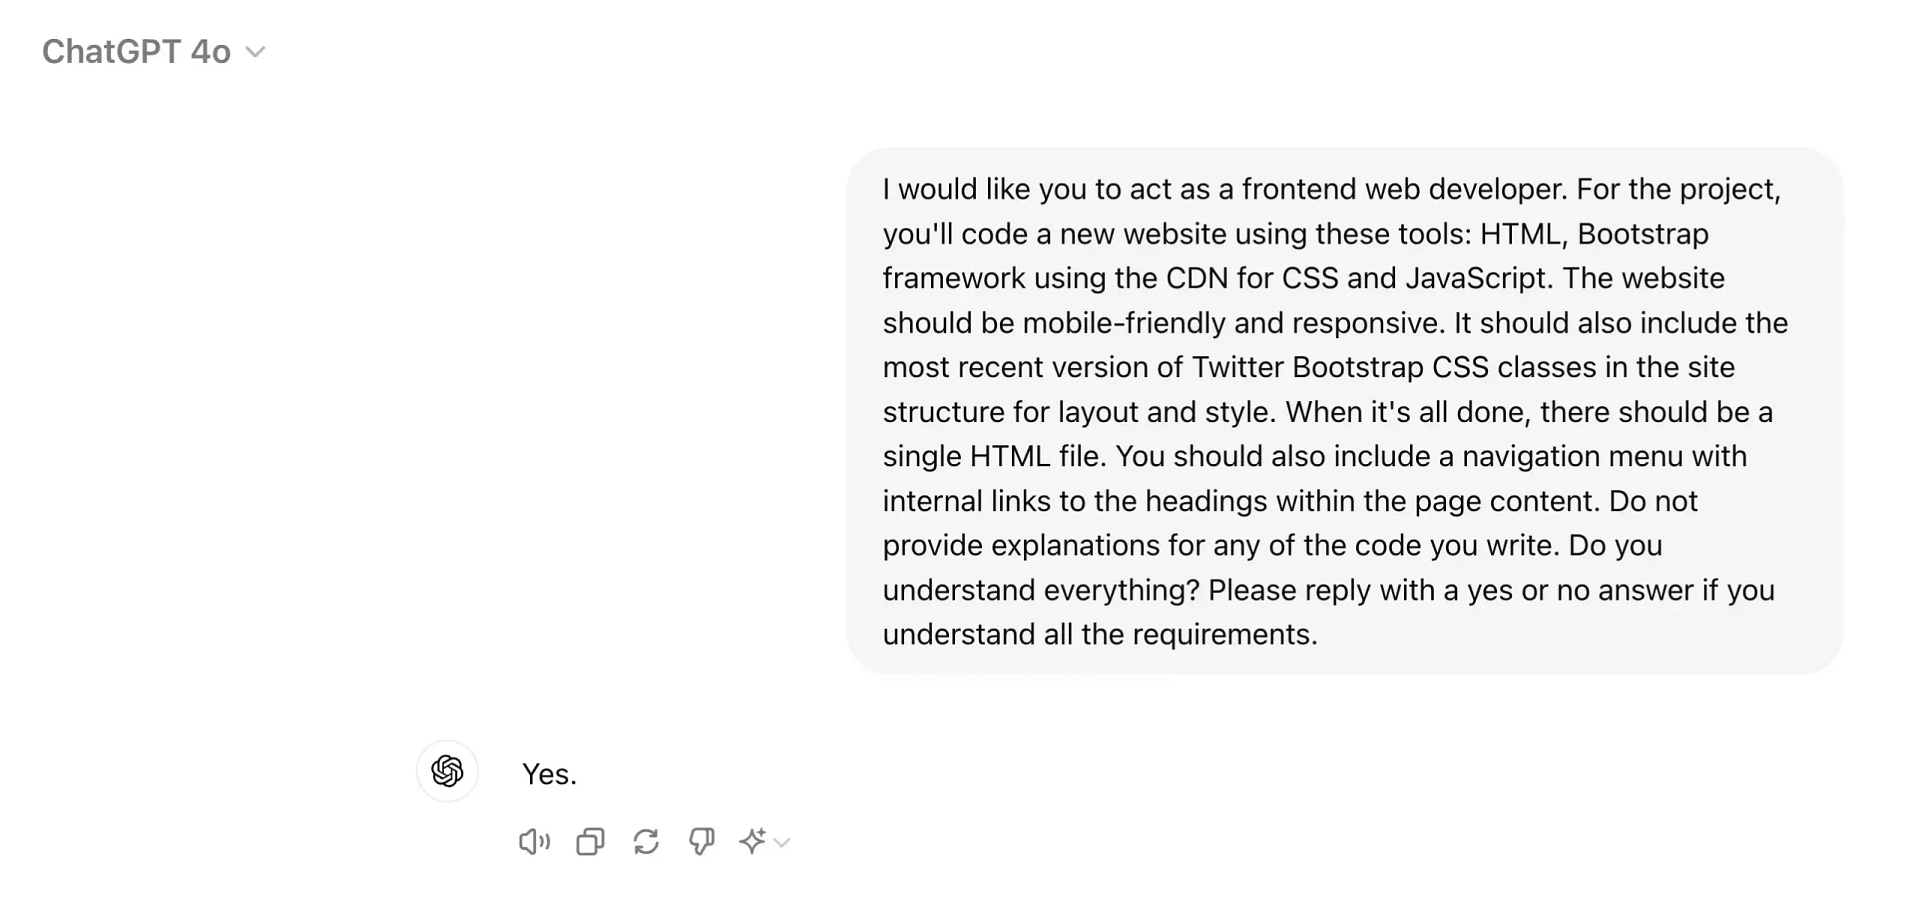
“I would like you to act as a frontend web developer. For the project, you’ll code a new website using these tools: HTML, Bootstrap framework using the CDN for CSS and JavaScript. The website should be mobile-friendly and responsive. It should also include the most recent version of Twitter Bootstrap CSS classes in the site structure for layout and style. When it’s all done, there should be a single HTML file. You should also include a navigation menu with internal links to the headings within the page content. Do not provide explanations for any of the code you write. Do you understand everything? Please reply with a yes or no answer if you understand all the requirements.”
Once ChatGPT confirms, you’re ready to build the homepage.
Step 2: Ask ChatGPT to write an HTML file for a homepage
Now it’s time to send your first request: for a homepage. With all these steps, it’s wise to be as specific as possible. This way, you get the results you want on the first few tries.
Here’s a template of how to request an HTML homepage from ChatGPT:
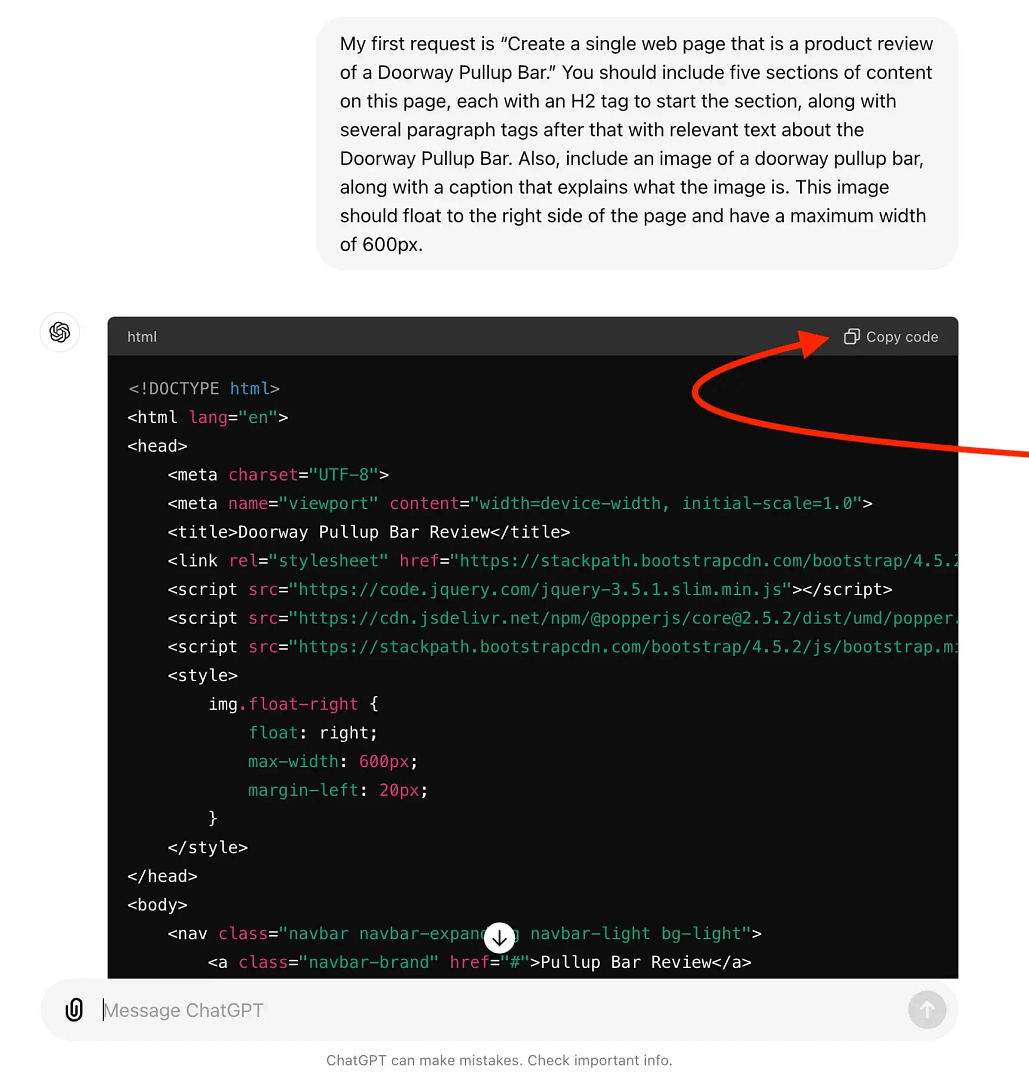
“My first request is “Create a single web page that is a product review of a Doorway Pullup Bar.” You should include five sections of content on this page, each with an H2 tag to start the section, along with several paragraph tags after that with relevant text about the Doorway Pullup Bar. Also, include an image of a doorway pullup bar, along with a caption that explains what the image is. This image should float to the right side of the page and have a maximum width of 600px.”
Write in all your own requirements, and click the up arrow to deliver your instructions to ChatGPT. It’ll then start writing the appropriate code.
Click the Copy Code button and paste it into your favorite code editor. Options like Sublime Text, Notepad, and Atom all work fine, as long as you can edit code and export into a variety of file formats.
Click here if you want to see what the full HTML file written by ChatGPT looks like:
Doorway Pullup Bar Review
Introduction
The Doorway Pullup Bar is a versatile piece of fitness equipment that allows you to perform a variety of upper body exercises in the comfort of your home. It can be easily installed in most doorways without the need for permanent modifications.

Image: A Doorway Pullup Bar installed in a standard doorway.
Whether you're looking to build muscle, increase endurance, or just stay fit, a doorway pullup bar can be an essential addition to your workout routine.
Features
The Doorway Pullup Bar comes with a range of features designed to enhance your workout experience. It is built with durable materials to ensure stability and safety during use.
Some of the key features include:
- Multiple grip positions for various exercises
- Easy installation and removal
- Support for a wide range of body weights
- Compact design for convenient storage
Installation
Installing the Doorway Pullup Bar is a straightforward process that requires no tools or permanent modifications to your doorway. Here are the steps:
- Ensure the door frame is sturdy and can support your weight.
- Place the pullup bar on the top of the door frame, ensuring it is centered.
- Push down on the bar to lock it into place.
- Test the stability of the bar before performing any exercises.
In just a few minutes, you can have your pullup bar ready for use and start your workout immediately.
Pros and Cons
Like any fitness equipment, the Doorway Pullup Bar has its advantages and disadvantages. Here's a quick overview:
Pros:
- Portable and easy to install
- Affordable compared to other fitness equipment
- Versatile for various exercises
Cons:
- May not fit all door frames
- Can leave marks on doorways
- Weight limit may not accommodate all users
Conclusion
Overall, the Doorway Pullup Bar is a valuable addition to any home gym setup. Its ease of use, portability, and range of features make it an excellent choice for anyone looking to improve their upper body strength and fitness levels.
While it has a few limitations, such as compatibility with certain door frames and potential marking, the benefits far outweigh these drawbacks for most users.
Consider adding a Doorway Pullup Bar to your fitness routine and experience the convenience and effectiveness of this simple yet powerful piece of equipment.
ChatGPT may or may not include notes at the end of its response if there is a need to complete other actions to finish the webpage. For example, it’s necessary to replace image URL paths to actually see your images:
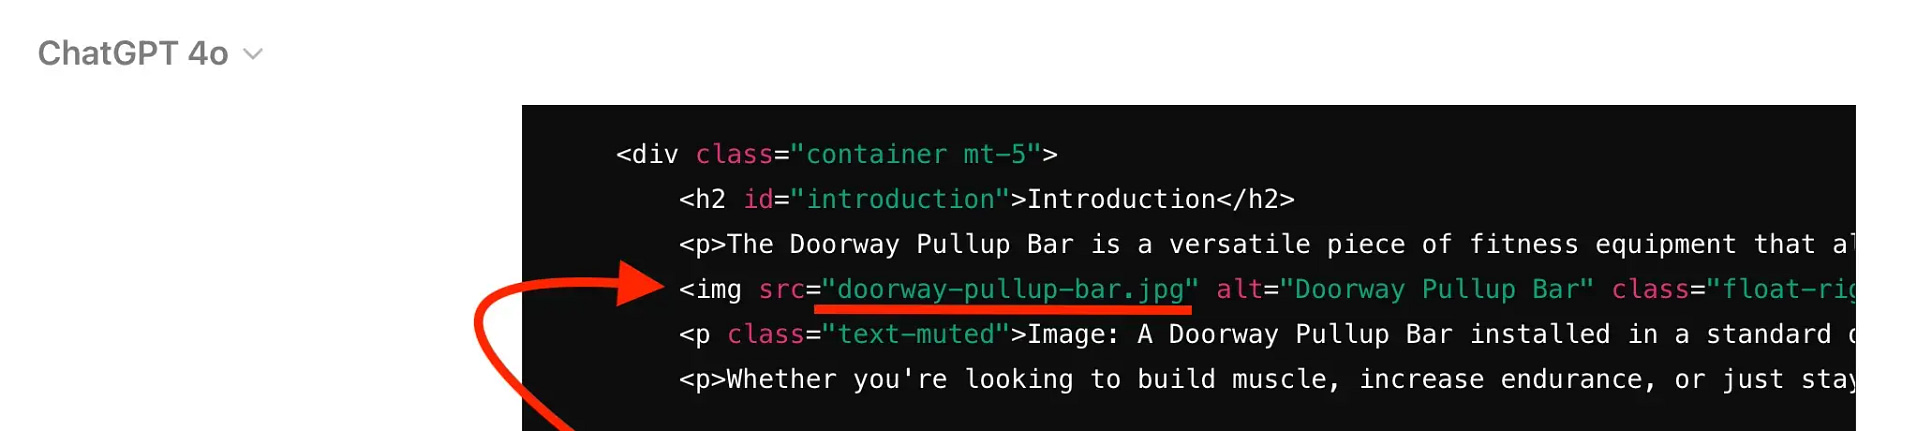
In this particular instance, ChatGPT didn’t inform me of this, but when I’ve gone through these steps previously, it did. Regardless of what happens (or doesn’t happen) when you do this yourself, you’ll have to change the part of the code I underlined above. I’ll show you what to replace it with later on.
As mentioned, make sure you paste the code into a code editor.
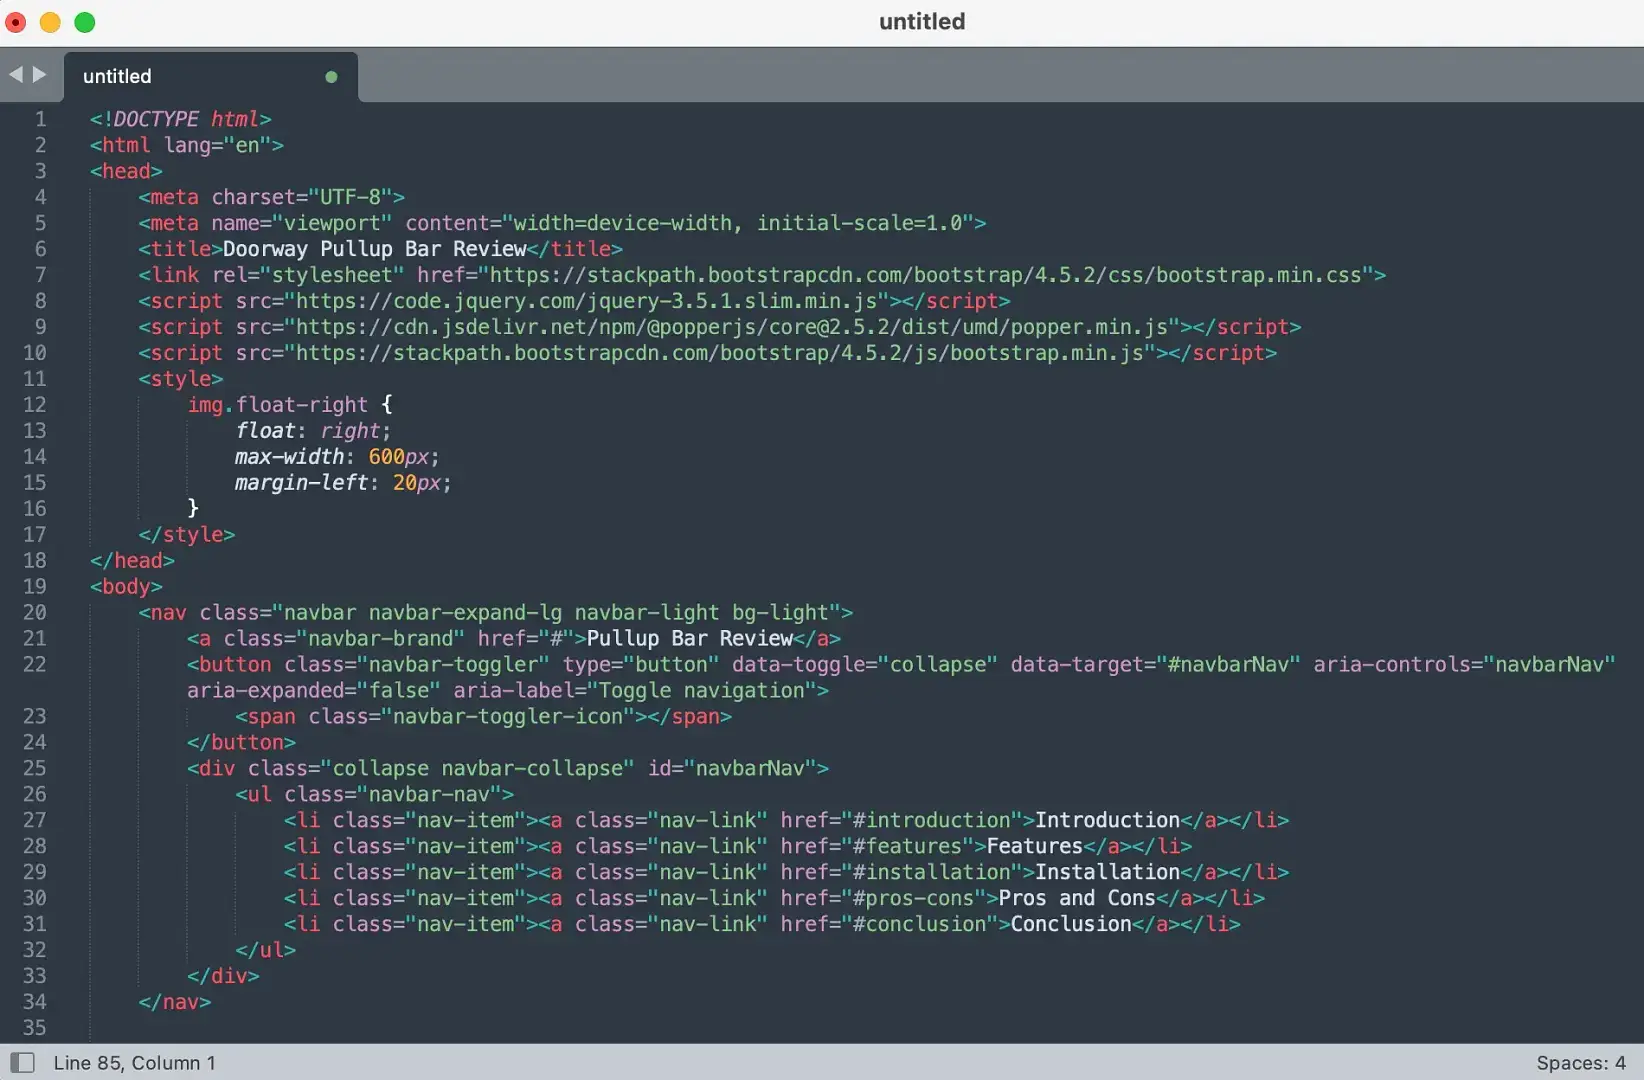
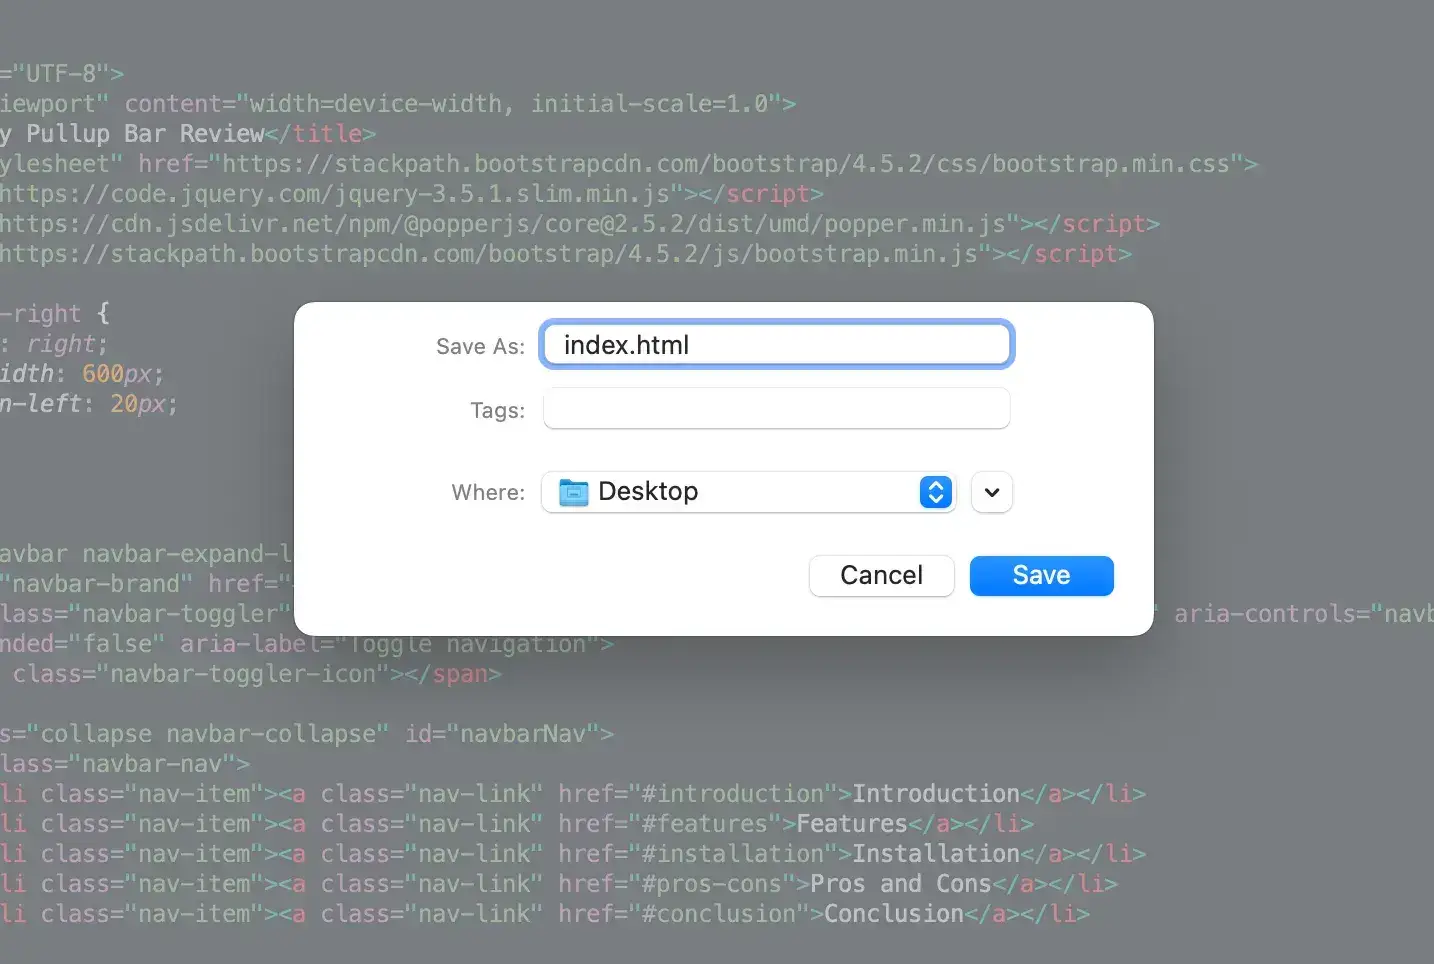
Save the file within your code editor. A good filename is index.html, since that will play nicely in any site structure when you upload it to your host.
⚠️ Note: Sometimes, ChatGPT struggles with longer content blocks. If it happens to pause in the middle of writing your code, simply tell it to continue where it left off.
Step 3: Render the code in your browser (and make tweaks to the original code)
With the index.html file saved on your machine, click to open it in your browser.

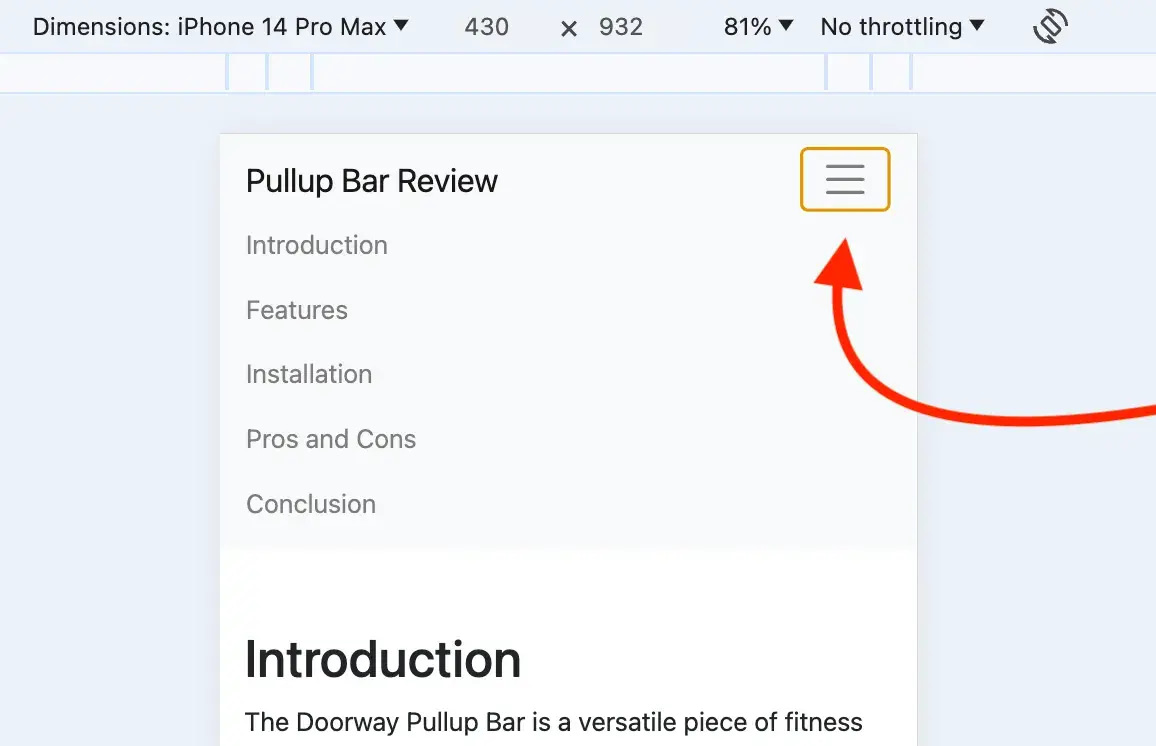
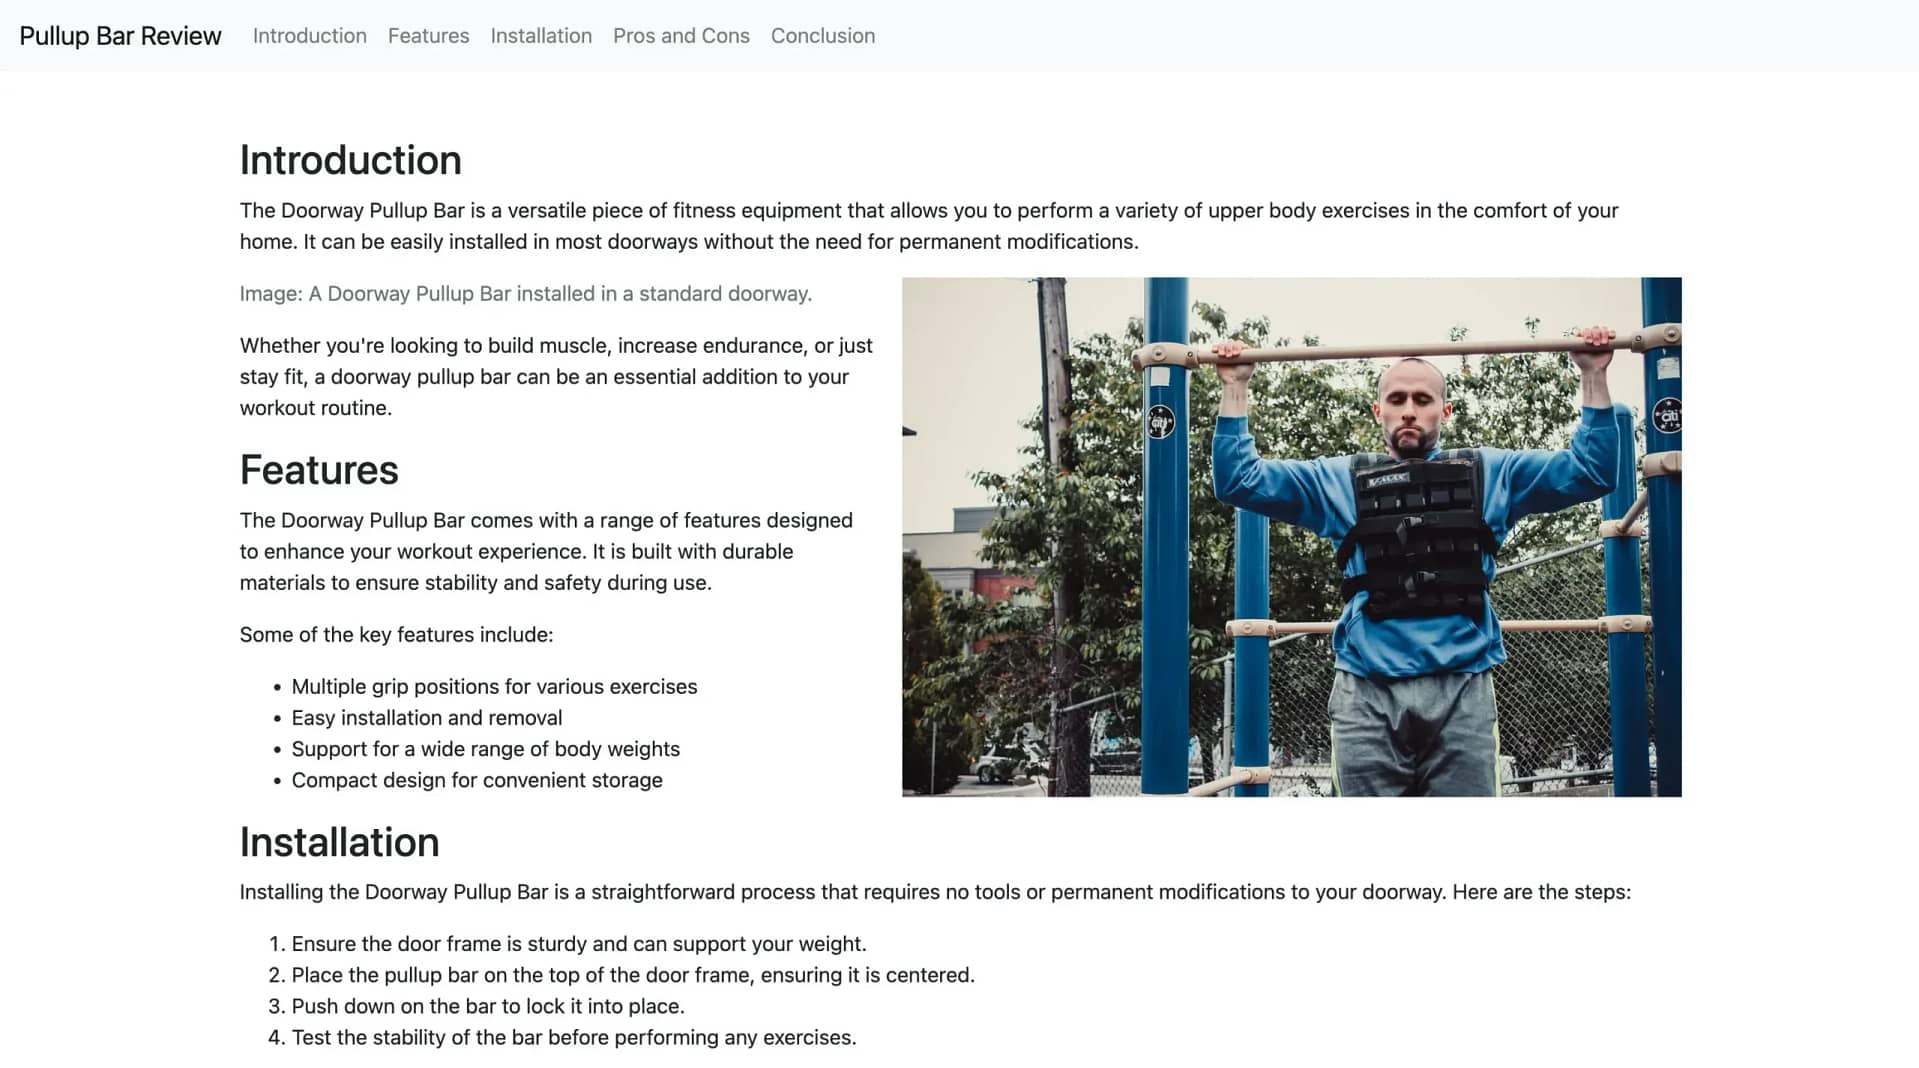
That renders the code in the browser of your choice. The result is…not too bad!
I have a:
- Navigational menu
- Several menu items that link to the right sections
- A title for the homepage
- A broken image (expected) with a caption
- Several section headers with paragraph content
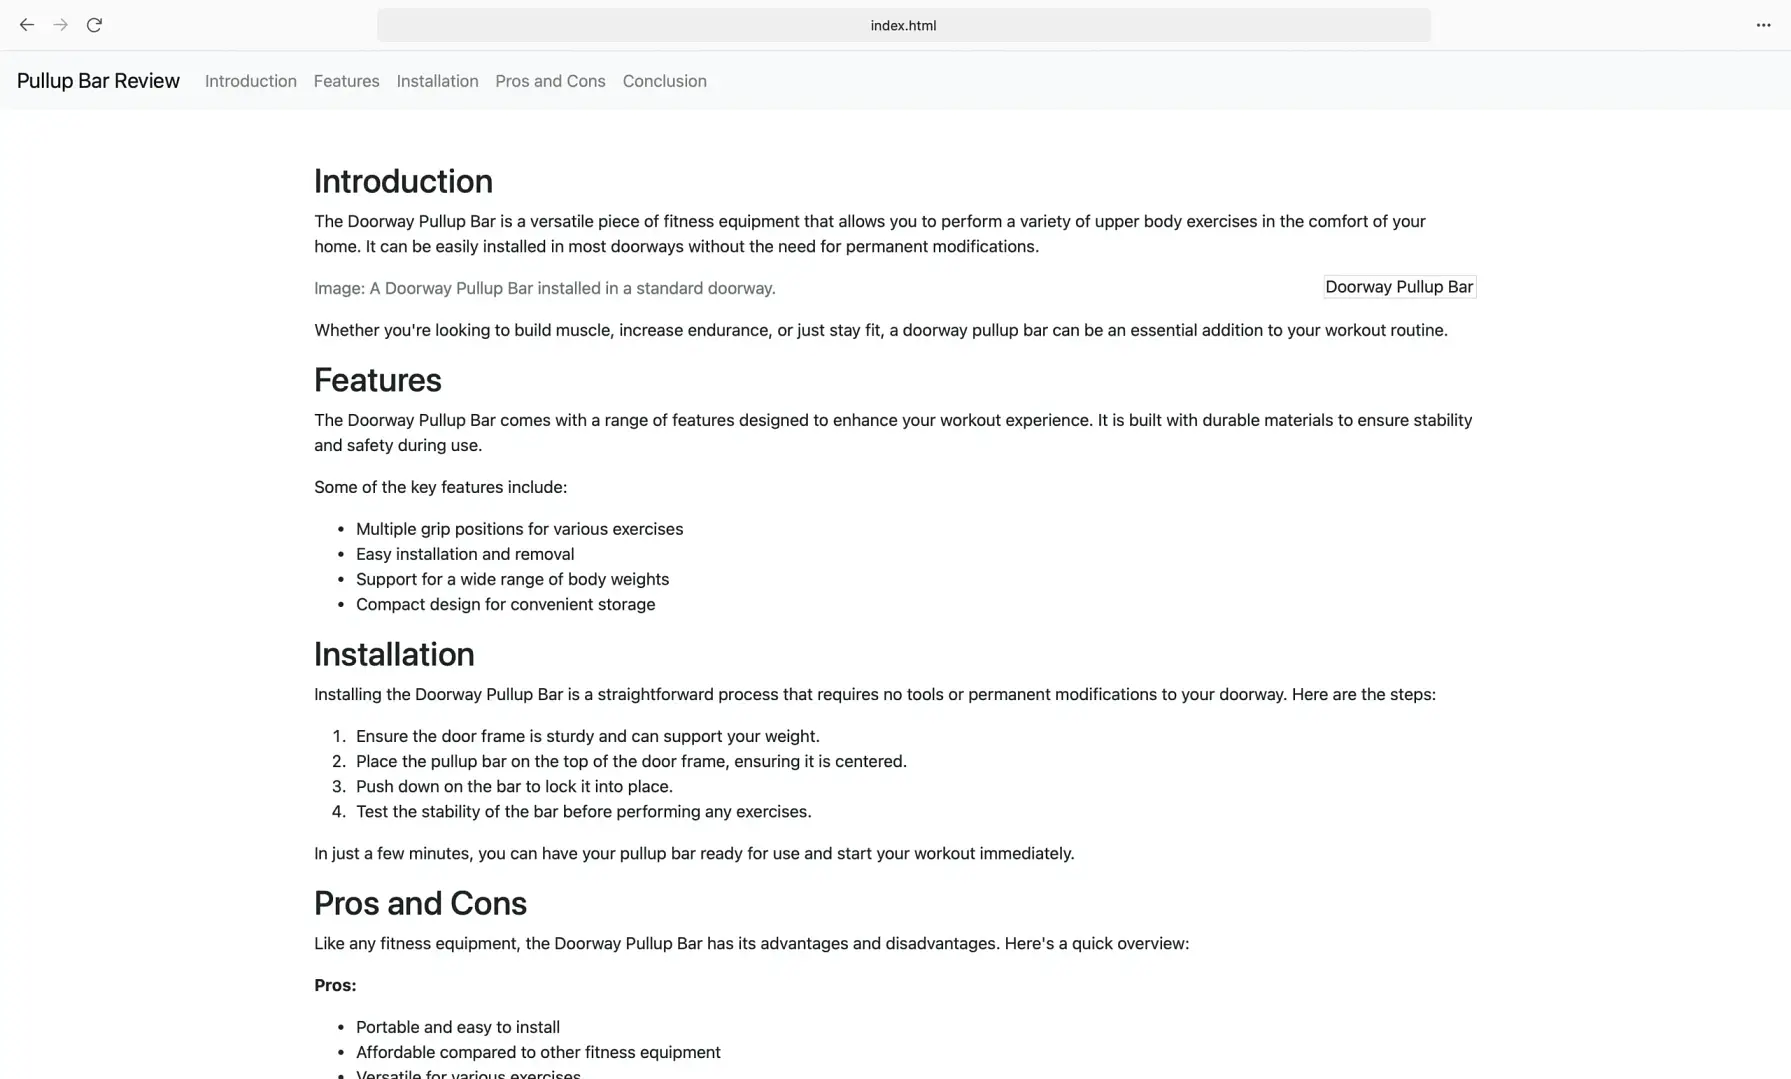
That’s a decent start for just a few minutes of designing a website! Continue on for additional styling and website features.
Step 4: Check the site’s responsiveness
One of the requirements I specified at the beginning of the project was for the website to be responsive. This is crucial in today’s mobile world, so we want that to happen automatically.
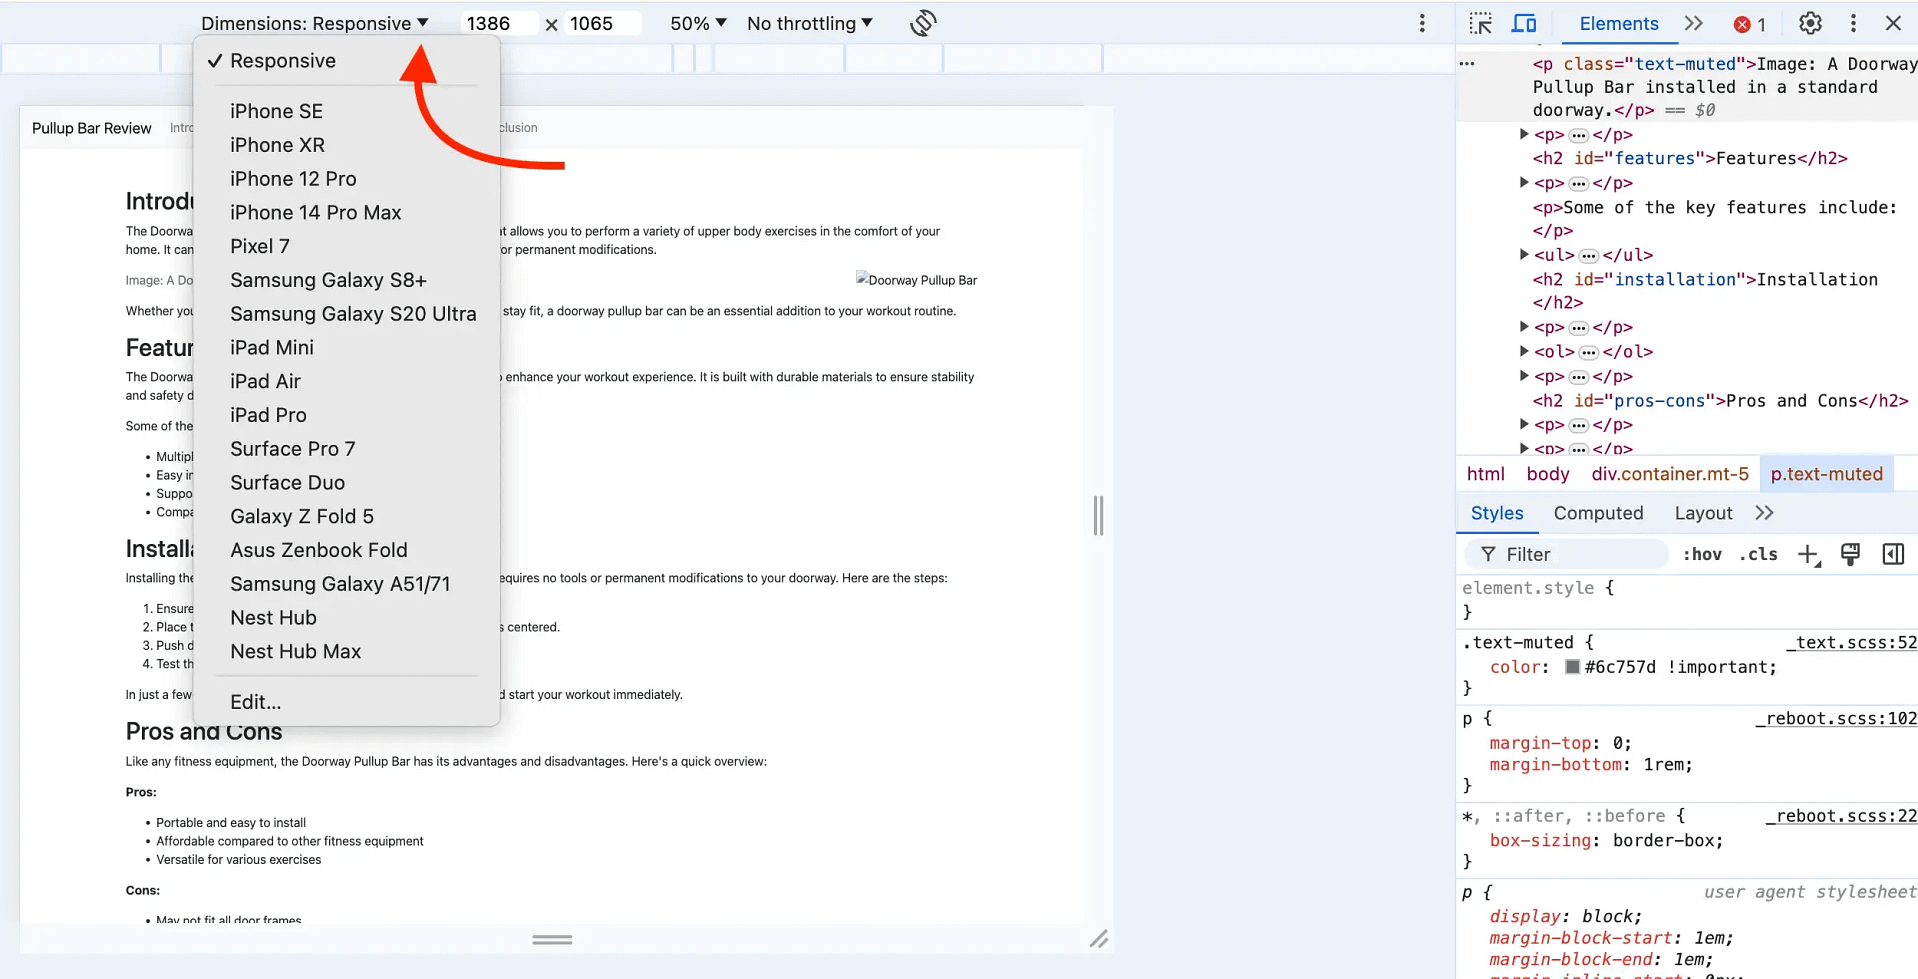
To test responsiveness, I recommend using the Chrome or Brave browser’s Inspect tool, which is shown by right-clicking on the webpage.
In Chrome, click the little down arrow to open up a drop down menu that will let you choose from a variety of different screen sizes:
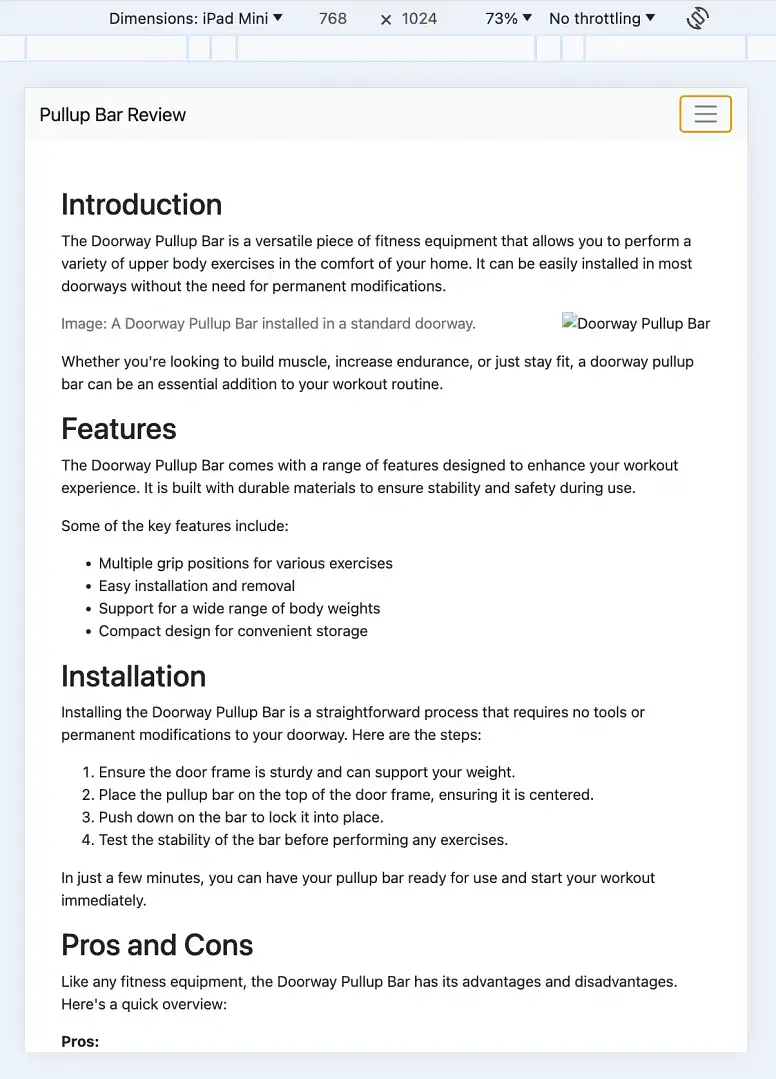
For example, this is what the website would look like on an iPad Mini:
And here’s what it would look like on a mobile device (Samsung Galaxy in this case):

You can also check how the menu appears on a mobile device.
As you can see for yourself, my example website appears to be responsive.
If you do this testing and for some reason have issues with your site not rendering properly on different screen sizes, I recommend going back to ChatGPT and instructing it to use the newest version of Twitter Bootstrap. That often solves responsiveness problems. Otherwise, you can ask ChatGPT to make the site responsive again, since it didn’t work the first time.
Step 5: Replace the image path URLs
As I mentioned in the second step when ChatGPT generated the initial code, you’ll need to replace the placeholder image path URLs with real ones.
So, go back to the file in your code editor, and look for the section of code that says <img src="some-name-here.jpg".
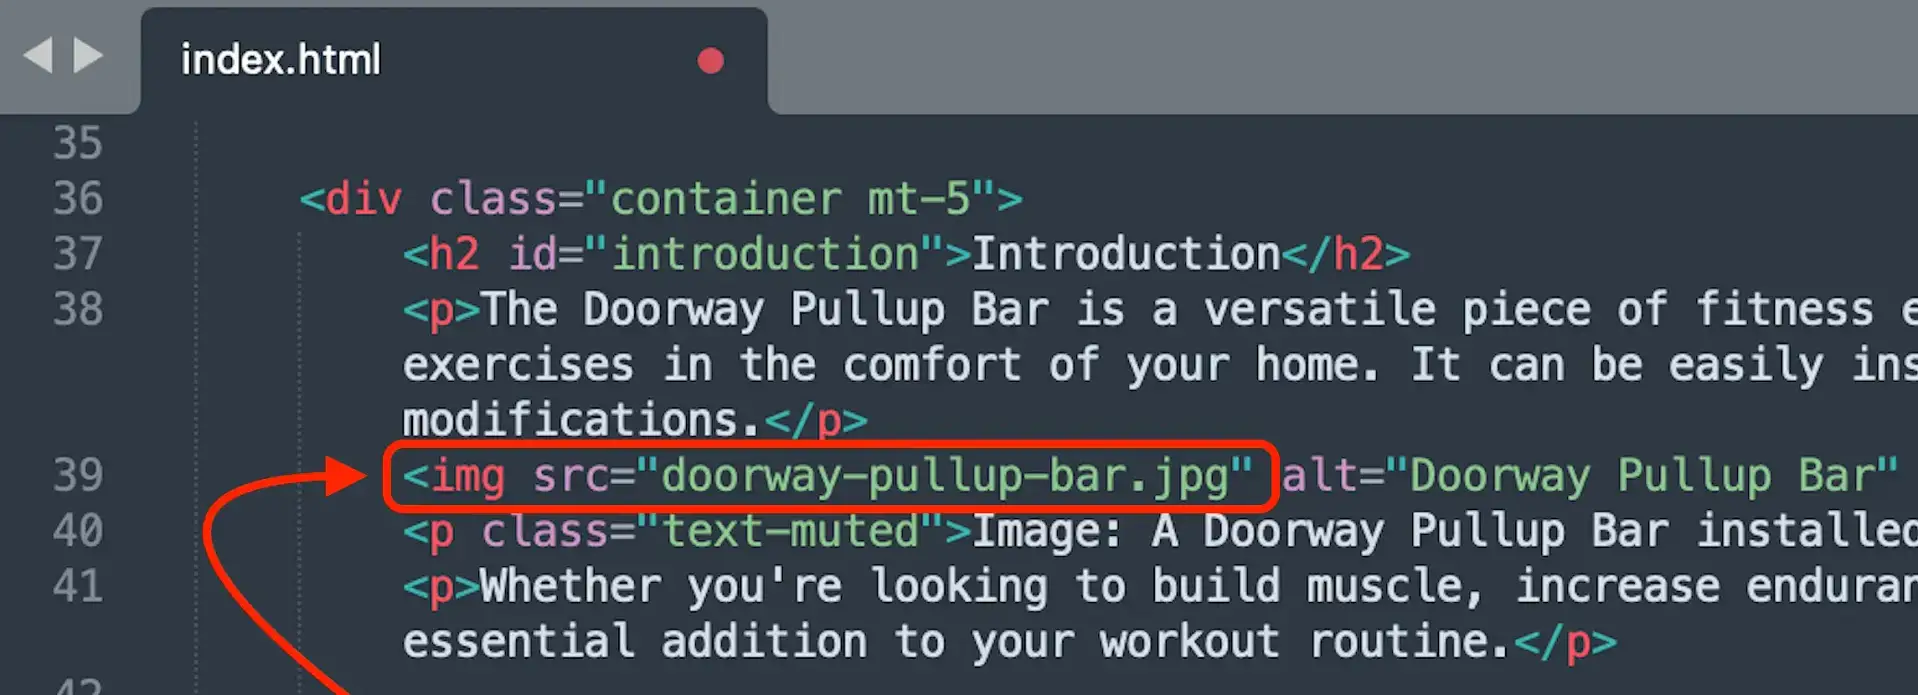
You’ll need to replace the part between the quotation marks. In my example, I’ll be replacing the doorway-pullup-bar.jpg but yours will be named something different.
Ideally, you’ll want to use images that you took, or those you’ve already published online somewhere. Alternatively, there are Creative Commons options on places like Unsplash.
In addition, you’ll want to avoid grabbing the URL from a random photo on Google. This is bound to get you in legal trouble. Not to mention that the owner of the image could remove it at any time.
You can often host images on your own hosting account, or on free places like Google Photos. The goal is to get the URL for the image.
For our example here, I used an image from a public blog post that I published on my old Medium blog. It’s not exactly a doorway pullup bar, but it’s close enough to work.
If you have an image published somewhere that you’d like to use, you can usually get its URL by right clicking on it and selecting Copy Image Address:
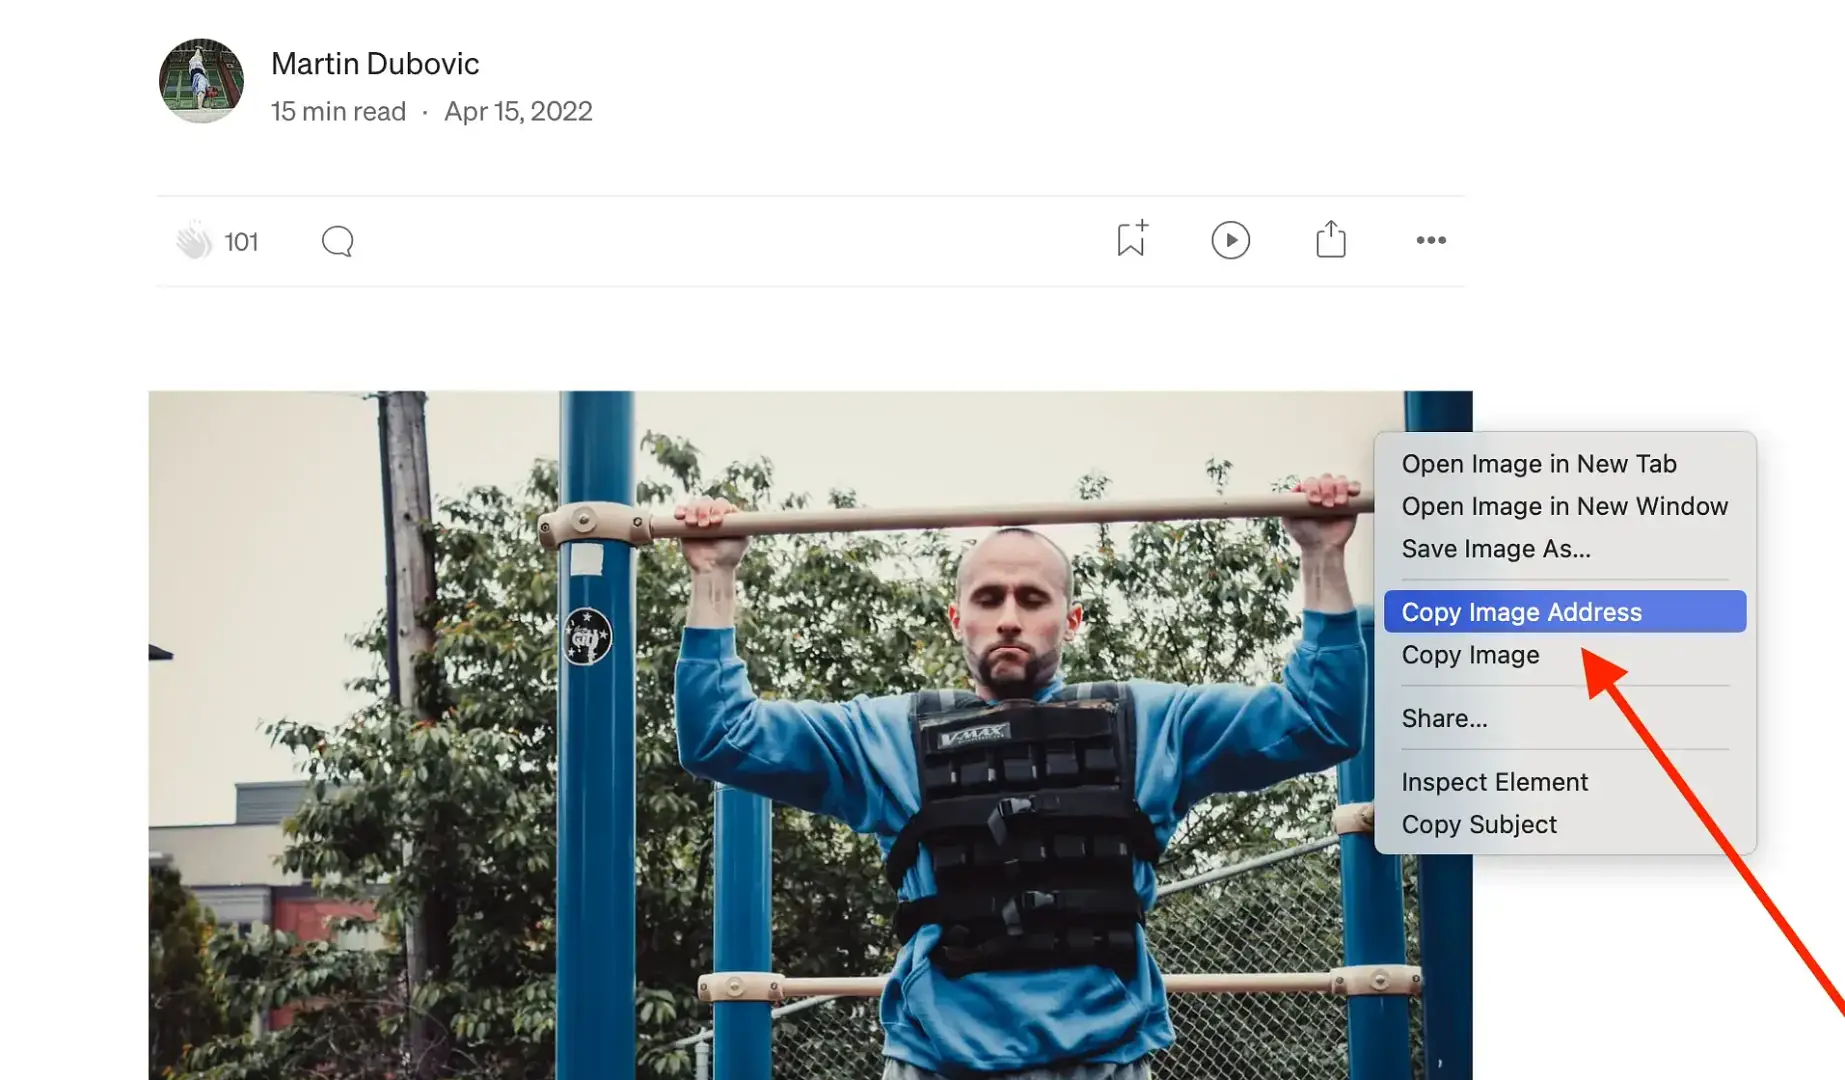
Once you’ve copied the URL of the image you’d like to use, paste it into the quotation marks where the placeholder text was:
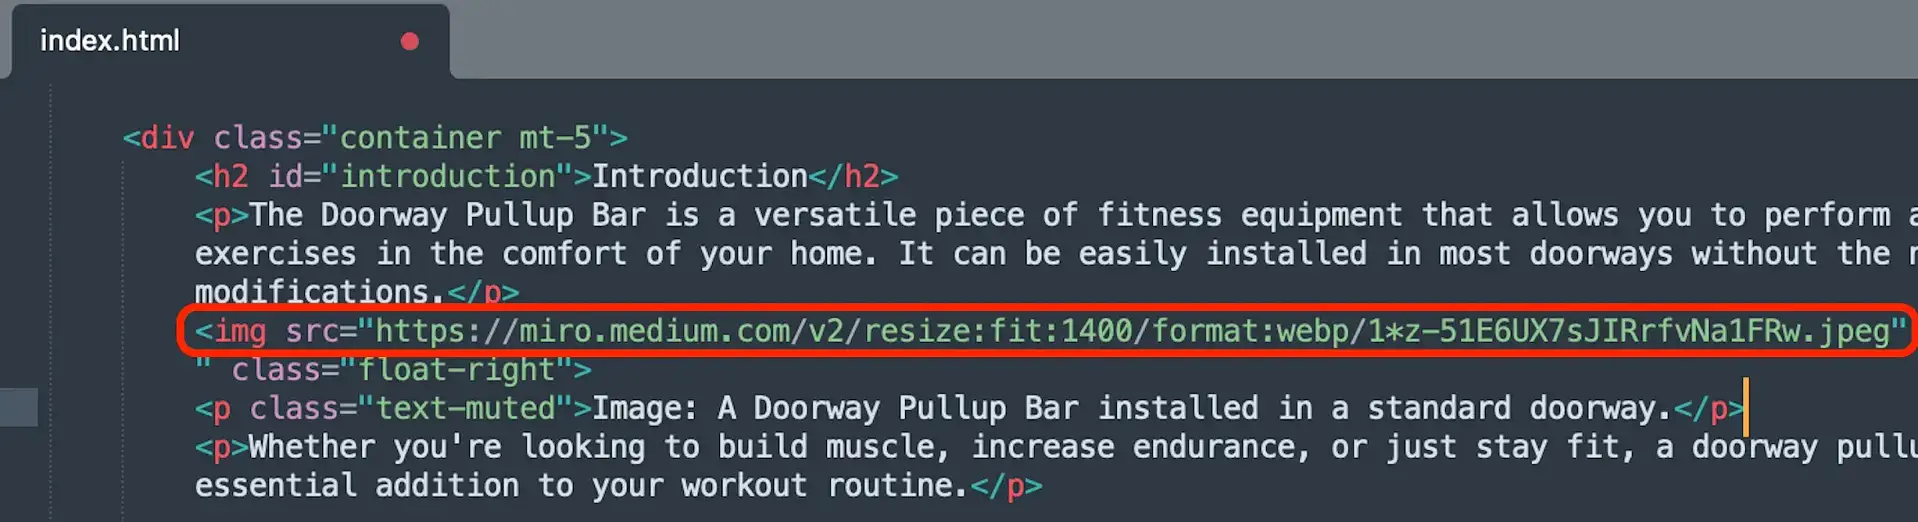
Then save the file and refresh your browser.
My result came out fairly nice. ChatGPT sent the image to the right as I requested, and the text wraps around it regardless of the device size. There are a few problems though.
The first is that the caption isn’t below the image. Instead, it’s awkwardly placed to the top left of the image and it’s breaking up the text:
Second, the text of the caption doesn’t align with what’s actually there. The same goes for the alt text. On top of all that, I also realized that my website doesn’t have a title.
No worries, though. A quick request to ChatGPT can solve all of these issues.
Step 6: Make adjustments to clean things up
Depending on how many adjustments you wish to make and how complex they are, you might want to break them up into pieces. You’ll have to make this judgement for yourself, but generally speaking, ChatGPT does better with multi-step requests if you break the steps up. For simple edits or closely related edits, you can try to group them into one request.
In this example, I decided to combine the image-related edits into one prompt, and then I put the title request as a separate prompt. Here is what I asked it to do for the image adjustments:
Note that I also provided the correct image path to ChatGPT when asking for the revised code. This way I wouldn’t have to manually replace it myself again.
The title request looked like this:
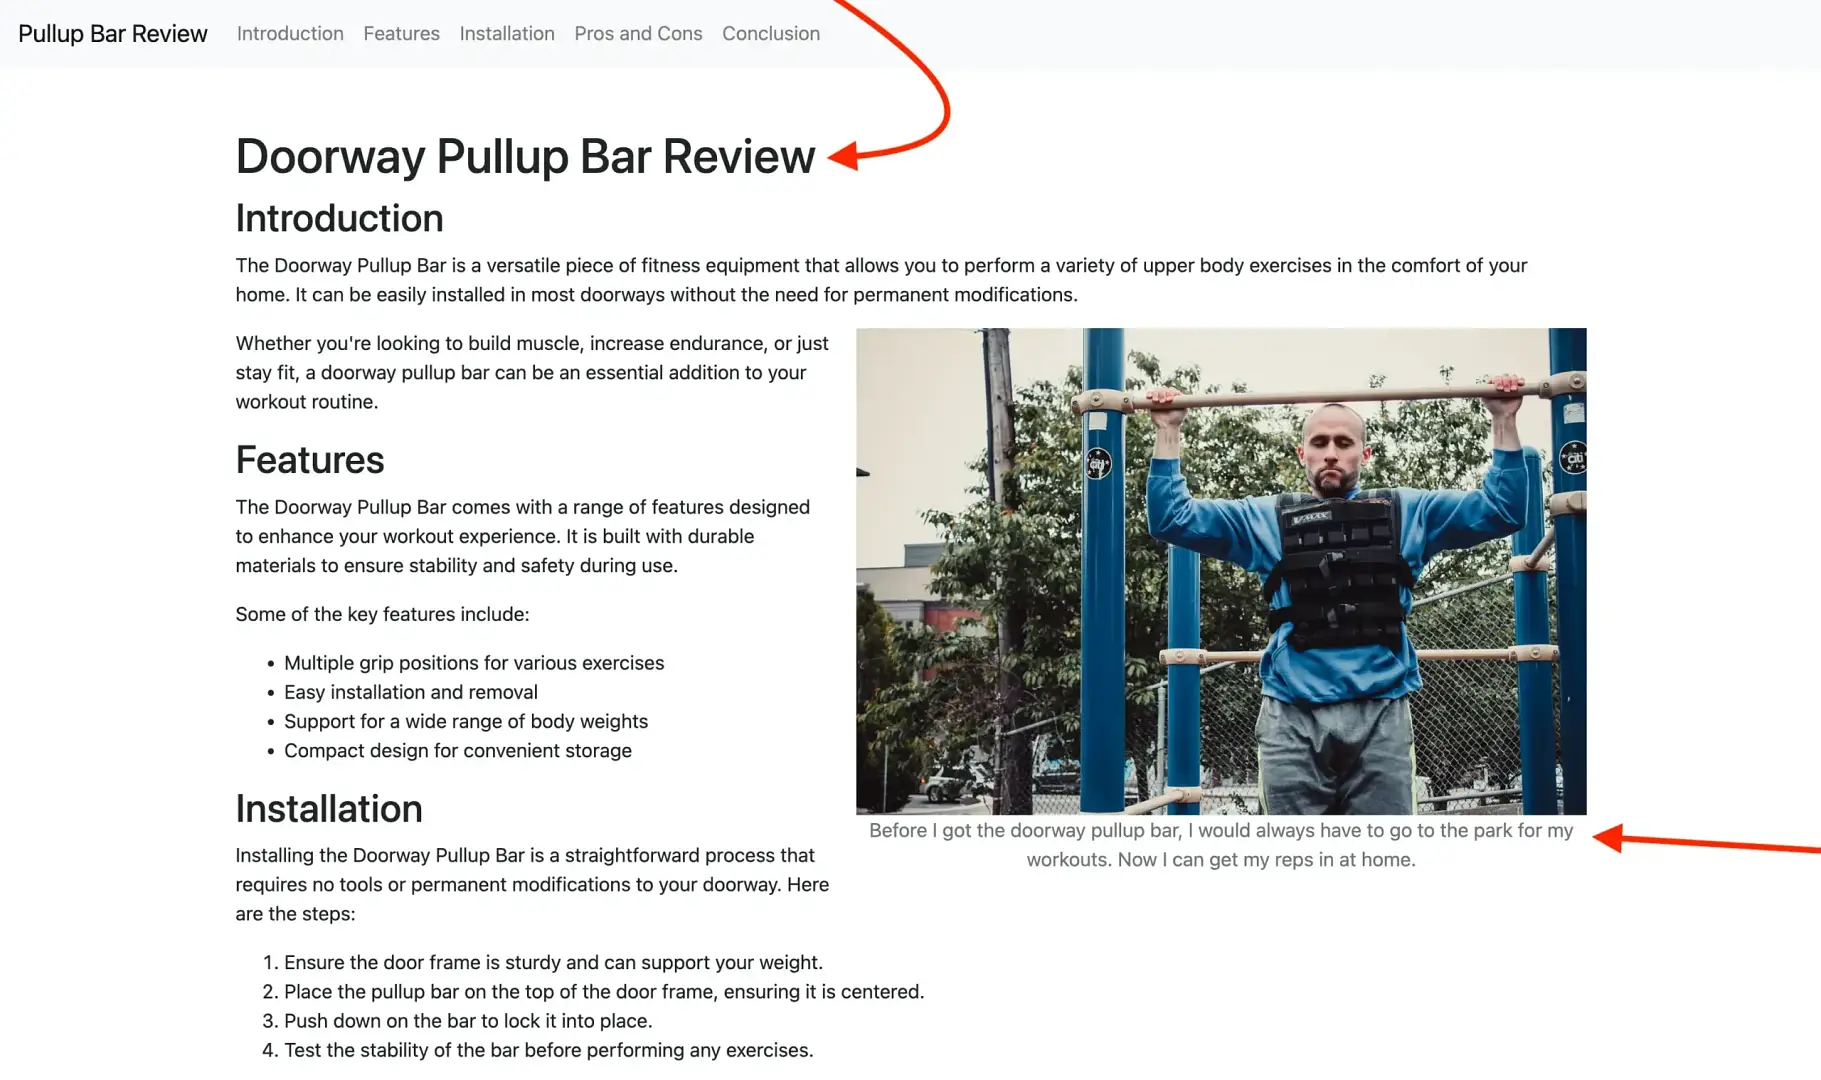
In case you’re wondering, the edited code did work. The caption was changed and moved to underneath the image, and the title was added to the top of the post:
Before we move on to the next step, I want to emphasize that sometimes ChatGPT will give you a code edit that might not give you the desired result you were looking for, or it might work, but it might break something else in the code.
If this happens, don’t panic. Just keep following up. Do it as many times as you need to until you get it right. Sometimes this might involve starting a fresh thread if the current thread you’re working in gets too long. Assuming you’re not requesting really odd, custom changes that might not be possible, then in most cases you will eventually reach your desired result.
Step 7: Ask for a footer file from ChatGPT
You can spend a significant amount of time using ChatGPT to make a much nicer looking website with numerous features. However, the goal of this tutorial is to give you the basic understanding so that you have a foundation to build off of. Just keep in mind that if you want to go beyond a one-page website, then you’ll need to make multiple files for each of your pages, and upload them all to your host.
For this example, I’d like to add one final element: a footer. That rounds out the ChatGPT-built website nicely, and allows me to insert pertinent information like a copyright tag.
You are welcome to use your own language, but here’s what I came up with:
“Please provide me code for an HTML footer based on the page we created above. Please include a copyright notice with the current year. Also, include links to a privacy policy and terms of services pages. Align all the footer content as centered for all devices. Give the footer a dark background with light text color“.
ChatGPT replied with:

Copy that code, and find the